# Backend - configuration
This guide is assuming your are using the zerologin.co (opens new window) instance. Replace all occurence of
zerologin.cowith the Zerologin instance you want to use.
Also, this guide as assuming your website is
mywebsite.com
# Configure your DNS
Before adding a domain on Zerologin, you must chose a subdomain add a DNS configuration for this subdomain.
This subdomain will be used as authentication server. For example login.mywebsite.com
⚠️ You should carefully choose which subdomain will be used as LNURL-auth endpoint and stick to chosen subdomain in future. For example, if auth.site.com was initially chosen then changing it to, say, login.site.com will result in a different account for each user because the full domain name is used by wallets as material for key derivation.
Go to your DNS zone and add a CNAME for your subdomain login
login CNAME zerologin.co.
Now wait for the DNS propagation (it can take some time depending of your DNS provider). When it's done, your subdomain https://login.mywebsite.com (opens new window) should be pointing to zerologin.co
⚠️ If you are using your own Zerologin instance, please follow this step instead of the step above
Configure your Zerologin DNS like all your other websites. Example
login CNAME zerologin.your-provider.com.
or
login A 123.123.123.123
In any case, your subdomain login.mywebsite.com should be pointing to an instance of Zerologin according to your choice
# Add your domain
Login to zerologin.co (opens new window) (or your Zerologin instance). If it's the first time you logging in, an account will be automatically created.
Once logged in, access to your dashboard (opens new window). This is where you can add your domain.
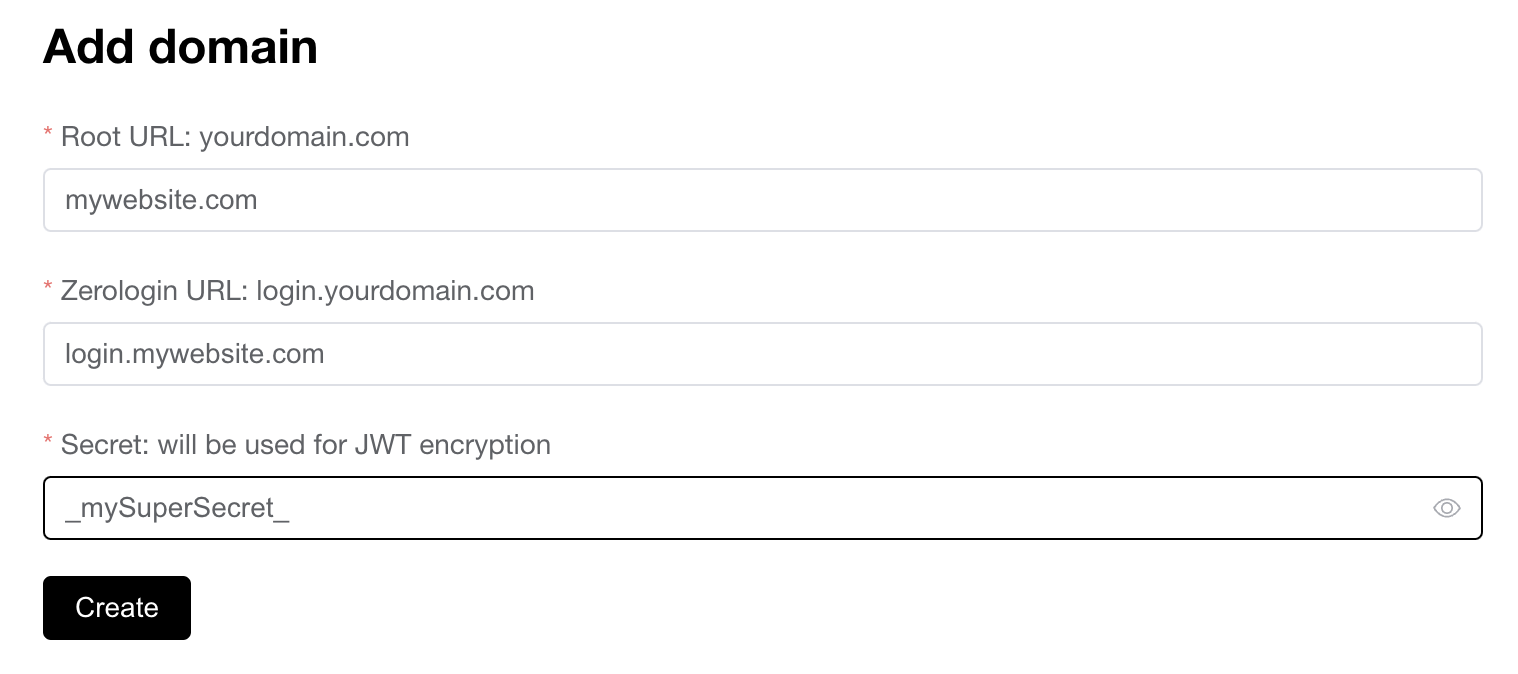
There are 3 fields.
Root URLis your main domain name where you have your websiteZerologin URLis your subdomain previously configured (login.mywebsite.com)Secretis the string used to encrypt and verify your JWT. Choose a strong one.
# mywebsite.com backend
JWT token is stored in the user cookies under the name jwt and should be provided on each request.
In your backend, you have the responsability to verify the JWT signature.
Once the JWT is verified, you can use the payload to get the user public key
{
    "payload":{
        "pubKey":"03433c753....2573c093350ee",
        "iat":1653582760,
        "exp":1653589960
    },
    "protectedHeader":{
        "alg":"HS256"
    }
}